How to Perform a Radial Nerve Glide with Precision
May 13, 2024
Unlocking Mobility: A Step-by-Step Guide to the Radial Nerve Glide Exercise
Welcome to our comprehensive guide on how to perform the radial nerve glide, a mobility exercise designed to mobilize the radial nerve. This exercise is beneficial for a variety of issues, including pain management, mobility limitations, and strength or stability problems for every joint it crosses and muscle it innervates. Follow along as we break down the steps to properly execute this exercise and explore different ways to customize it to your needs.
How to Start the Radial Nerve Glide:
Begin by taking your thumb across your palm, then flex your wrist while maintaining these two movements. Next, extend your elbow to lock it out. Inwardly rotate your whole shoulder and make sure your forearm is rotated (pronated). This sets the foundation for the nerve glide.
How to Apply Tension to the Radial Nerve:
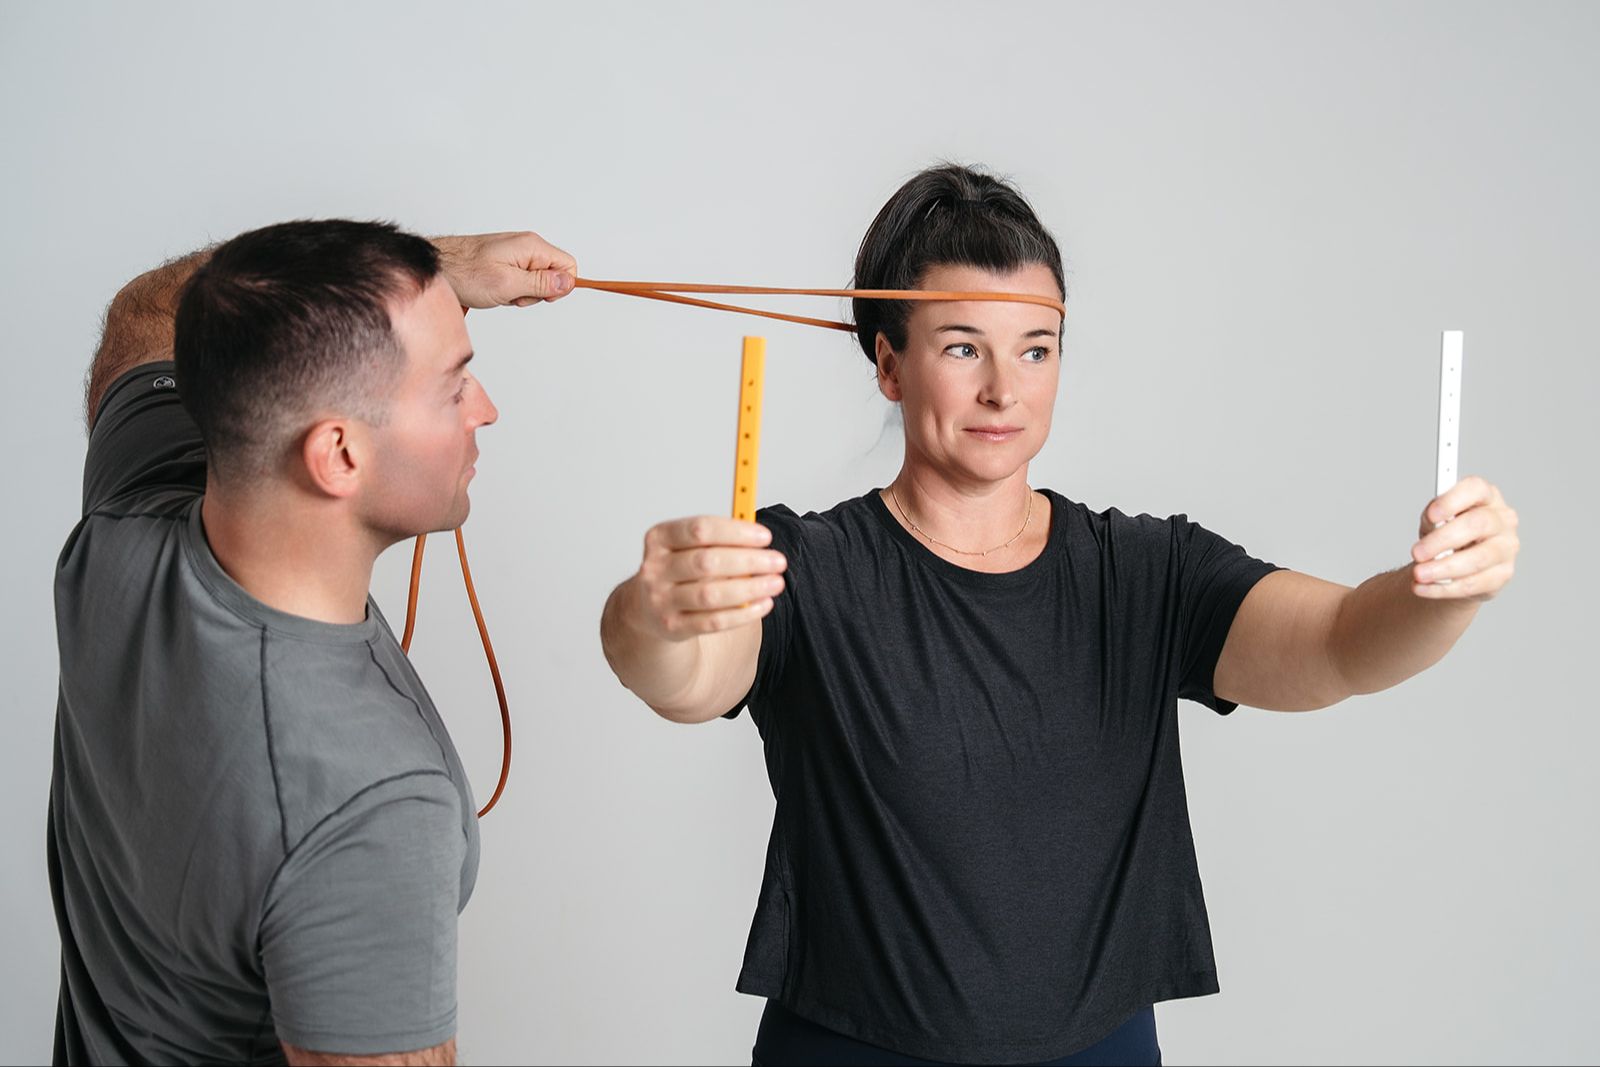
Once in the starting position, draw your whole shoulder blade down towards the floor and move your arm away from your body. At this point, you should start feeling a nervy stretch sensation creeping up your forearm and even into your tricep. It is crucial to keep the stretch sensation gentle, aiming for a three out of ten in intensity. Tilt your head away from the arm to increase the neural tension slightly.
How to Mobilize the Radial Nerve with Shoulder Pulses:
After achieving the correct position, use your shoulder as the driver to mobilize the nerve. Elevate your shoulder and then drop it, noting a change in the stretch sensation. This elevation and depression of the shoulder should be done approximately eight times to effectively mobilize the radial nerve.
How to Choose the Right Driver for Mobilization:
The radial nerve crosses several joints, which means there are multiple drivers you can use to mobilize it. Explore using different parts of your body as the driver, such as the neck by gently moving in and out of lateral flexion, the shoulder by creating small circles, or even the wrist by moving in and out of the flexed position. Assess which driver gives you the best results based on your specific needs and goals.
How to Assess the Effectiveness of the Exercise:
Before starting the exercise, perform a qualitative assessment of your movement or discomfort level in the area you wish to improve. After completing the radial nerve glide, reassess to see if there has been any improvement. This before and after assessment can provide quick and valuable information about which driver is most beneficial for you.
Now, you might be wondering about the reasons and benefits behind performing the radial nerve glide.
Here’s a quick overview:
- Pain Management: If you’re experiencing neck, shoulder, elbow, wrist or thumb discomfort, this exercise can offer relief by gently mobilizing the nerve. (watch the video to visualize the nerves path)
- Improvement in Mobility and Strength: Whether it’s your neck, shoulder, elbow, wrist or thumb, the radial nerve glide can aid in enhancing both mobility and strength in these areas.
- Sensory Improvement: Since the radial nerve is a sensory and motor nerve, this exercise can help improve sensory issues along the skin and muscle function in the supplied areas.
Remember, the frequency of this exercise should be kept low, with only one or two sets needed. The intensity should always remain gentle to avoid over-stretching the nerves. Incorporating the radial nerve glide into your routine can help manage pain, improve mobility, and enhance muscle strength and stability. It's a versatile exercise that can be tailored to your individual needs, making it a valuable addition to your mobility practice.
\
👋🏻 Hi, I’m Taylor Kruse, a strength & mobility coach who’s passionate about jiu jitsu and neuroscience. I help you with daily exercise and recovery tips so that you can squash your pains and make those gains!
Whenever you're ready here's how we can help you:
- Join our neuro community for health & movement pros to begin practicing the fundamentals of applied neurology in our Dojo Membership
- Master applied neurology so you can feel confident you can help anyone who walks through your door by joining our live course, The Neuro Dojo
JOIN OUR FREE CRANIAL NERVE MASTERCLASS
If you want to learn the neurology of movement and the role your cranial nerves play in balancing muscle tone, restoring posture, and reducing pain...join our free cranial nerve masterclass.
We hate SPAM. We will never sell your information, for any reason.


